A grafted mango is one of the best investments you can make in a Florida yard. Plant it well and it can feed your family for decades. Plant it too deep, in the wrong spot or without a watering plan, and it can sulk for years. The good news is that planting a mango right isn't complicated. It just takes a little planning.
Here's how we plant grafted mangoes at our Miami nursery, following the same basic guidance UF/IFAS gives Florida homeowners.
1. Pick the right time of year
In South Florida you can plant a container-grown mango almost any time of year, as long as you can water it. The easiest window is late spring into early summer, when the rainy season starts doing some of the watering for you and the tree has a long warm season to root in before winter.
If you're in Central Florida or the Tampa Bay area, plant in spring, after your last chance of frost. That gives the tree a full summer to establish before its first cold snap. Growing outside South Florida? Read our guide to growing mango trees outside South Florida first.
2. Choose a sunny spot with room to grow
Mangoes are full-sun trees. The more direct sun they get, the better they flower and fruit. A standard mango variety can become a large tree, so give it space away from your house, power lines, septic systems and other trees. If your yard is small, choose a compact variety such as Carrie or Pickering, and plan to keep it small with yearly pruning.
Mangoes also hate wet feet. Avoid low spots where water sits after a summer storm. If your yard floods, plant on a broad, low mound of native soil so the roots stay out of standing water.
3. Dig a wide hole, not a deep one
Dig a hole three to four times wider than the pot, but only as deep as the root ball. Roots spread out, not down, in their first years, so loosened soil around the root ball matters more than depth.
In much of Miami-Dade, you'll hit limestone rock just under the surface. Break up as much of it as you can with a digging bar, or rent equipment for bigger jobs. In sandy soils farther north, the digging is easy, but the sand drains fast and holds few nutrients, so watering and feeding matter even more.
4. Set the tree at the right depth
This is the step people get wrong most often. The top of the root ball should sit level with the surrounding ground, or even an inch higher. Never bury the trunk deeper than it was growing in the pot.
Look for the graft union, the slight bend or bulge low on the trunk where the variety was joined to the rootstock. It must stay well above the soil and above the mulch. Burying it invites disease and lets the rootstock take over.
Slide the tree out of the pot gently. If roots are circling the outside of the root ball, tease a few of them loose with your fingers so they grow outward into the new soil.
5. Backfill with native soil
Fill the hole back in mostly with the soil you dug out, firming it gently with your hands to remove big air pockets. Don't fill the hole with bagged potting mix. Roots that are pampered in a pocket of soft mix can be slow to grow out into the native soil.
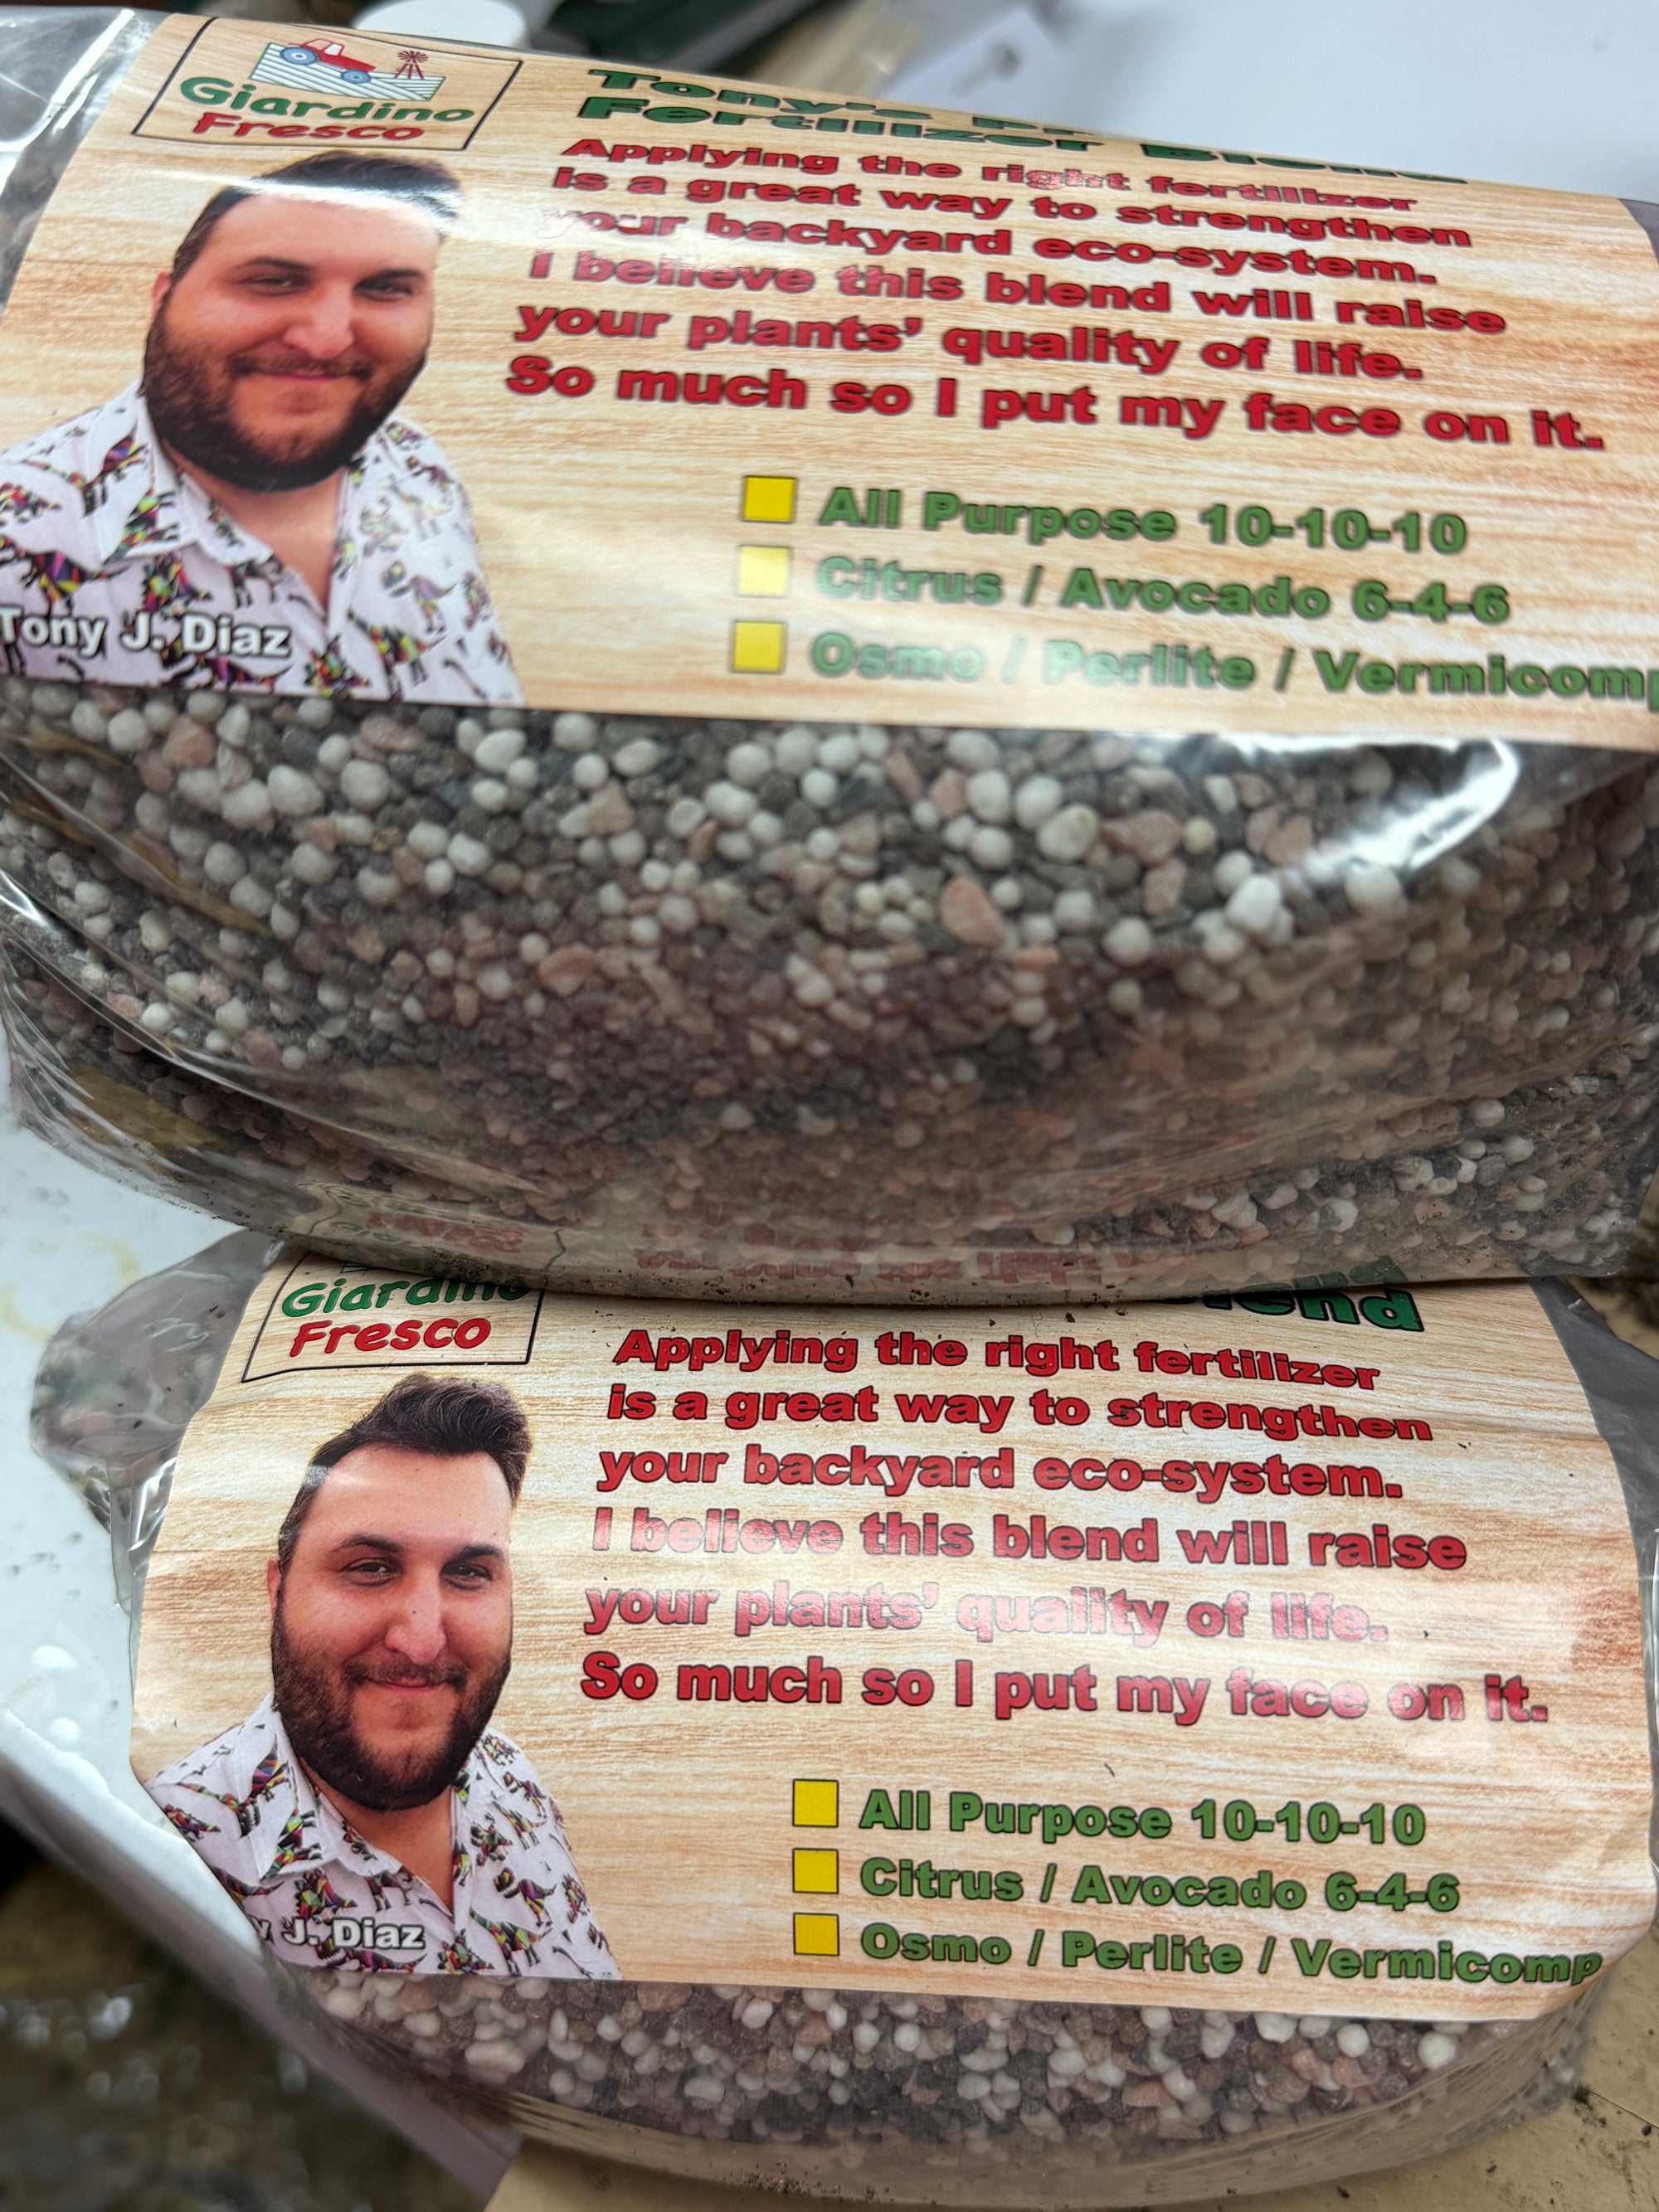
In fast-draining sand, mixing a modest amount of coconut coir into the backfill can help hold moisture during the first weeks. That's why our Fruit Tree Planting Kit pairs a coir brick with a balanced 10-10-10 fertilizer. Keep it modest, though. Most of what goes back in the hole should be your own soil.
6. Water it in, then stay on schedule
Water deeply right after planting to settle the soil around the roots. UF/IFAS suggests watering a new tree every other day for the first week or so, then one to two times a week for the next couple of months, unless rain does the job for you. After that, water during dry spells while the tree establishes over its first year or two.
A simple test: push a finger a couple of inches into the soil near the root ball. If it's dry, water. If it's soggy, wait. Overwatering a young tree in heavy or poorly drained soil can be just as harmful as letting it dry out.
7. Mulch, but keep it off the trunk
Spread a layer of wood chips or other coarse mulch a few inches deep in a wide circle around the tree. Mulch keeps roots cool, holds moisture and keeps the lawn mower and string trimmer away. Pull it back several inches from the trunk so the bark stays dry. A "mulch volcano" piled against the trunk can rot the bark and the graft union.
8. Feed lightly and often in the first year
Young trees do best with small amounts of fertilizer applied regularly rather than one big dose. Wait until you see the tree settling in, then feed lightly every couple of months during the warm season, scattering the fertilizer evenly over the root zone and watering it in. On alkaline Miami soils, a fertilizer or spray that supplies micronutrients like iron, manganese and zinc helps prevent yellow leaves. We cover the details in our guide on when and how to fertilize fruit trees in Florida.
9. Be patient with the first flowers
Grafted mangoes often try to bloom young. On a small tree, many growers remove the first flower panicles so the tree puts its energy into roots and branches instead of fruit. A strong framework now means bigger, steadier harvests later. If your tree is established but still won't bloom, our article on why mango trees don't fruit walks through the usual causes.
Ready to plant?
I'm Tony, a botanist and arborist, and I run Giardino Fresco with my family at 2264 SW 22nd Ave in Miami. Every tree we sell is grafted from a named variety, so you know exactly what you're growing. Not sure which mango fits your space? Our comparison of Carrie vs. Pickering vs. Valencia Pride can help you decide.
Ready to get growing? Shop our grafted mango trees and add a Fruit Tree Planting Kit for a strong start. We ship within Florida and nearby Gulf states, and local pickup at the nursery is available anytime. Questions? Call or text 786-774-2125.